Selling great products needs great product photos. There is no shortage of tutorials on the internet for product photography. Most fall into two extremes, expensive professional setups with flash umbrellas & special matterials for backdrops. The second extreme typically involves cutting holes into a cardboard box and going crazy with baking paper. Both techniques have their merrits and get the job done however we were looking for a solution the fits in the middle, something more complex than a carboard box and a desk lamp but significantly cheaper than a full studio set up. With any kind of photography the most important element is light, it is the name after all. The more light you can place onto an object and in the right way the better your photographs will come out. Product photography requires nice even lighting, this means surrounding the image with a uniform colour temperature . The cheapest and brightest lights are typically hallogen floodlights unfortunatly the lights can look very yellow and the lamps get very hot making them a hazard to manipulate and diffuse. So instead we are using the brightest CFL lamps we could find at our local hardware store. The second requirements is a way to direct the light, our CFLs are designed for lighting an entire room so they spill light in every direction which is very undersirable when you want it focused on an area less than 100 centimeters square. To achieve this, instead of spending $1000 on specialised lamps, rigs and soft boxes we spent $100 on plastic storage tubs, light sockets, power cords and the CFL lamps. To ensure our new big white CFLs direct their light appropriatly so we lined a series of plastic storage tubs with reflective hydroponic insulation left by the previous owners of our house, not exactly sure what our previous home owners need with hydroponics equiment considering the garden is 400m^2 but this is getting a little off topic. Alternatly aluminium cooking foil and a spray adhesive would of had the same effect, it stops light leaking through the opaque sides of the tub.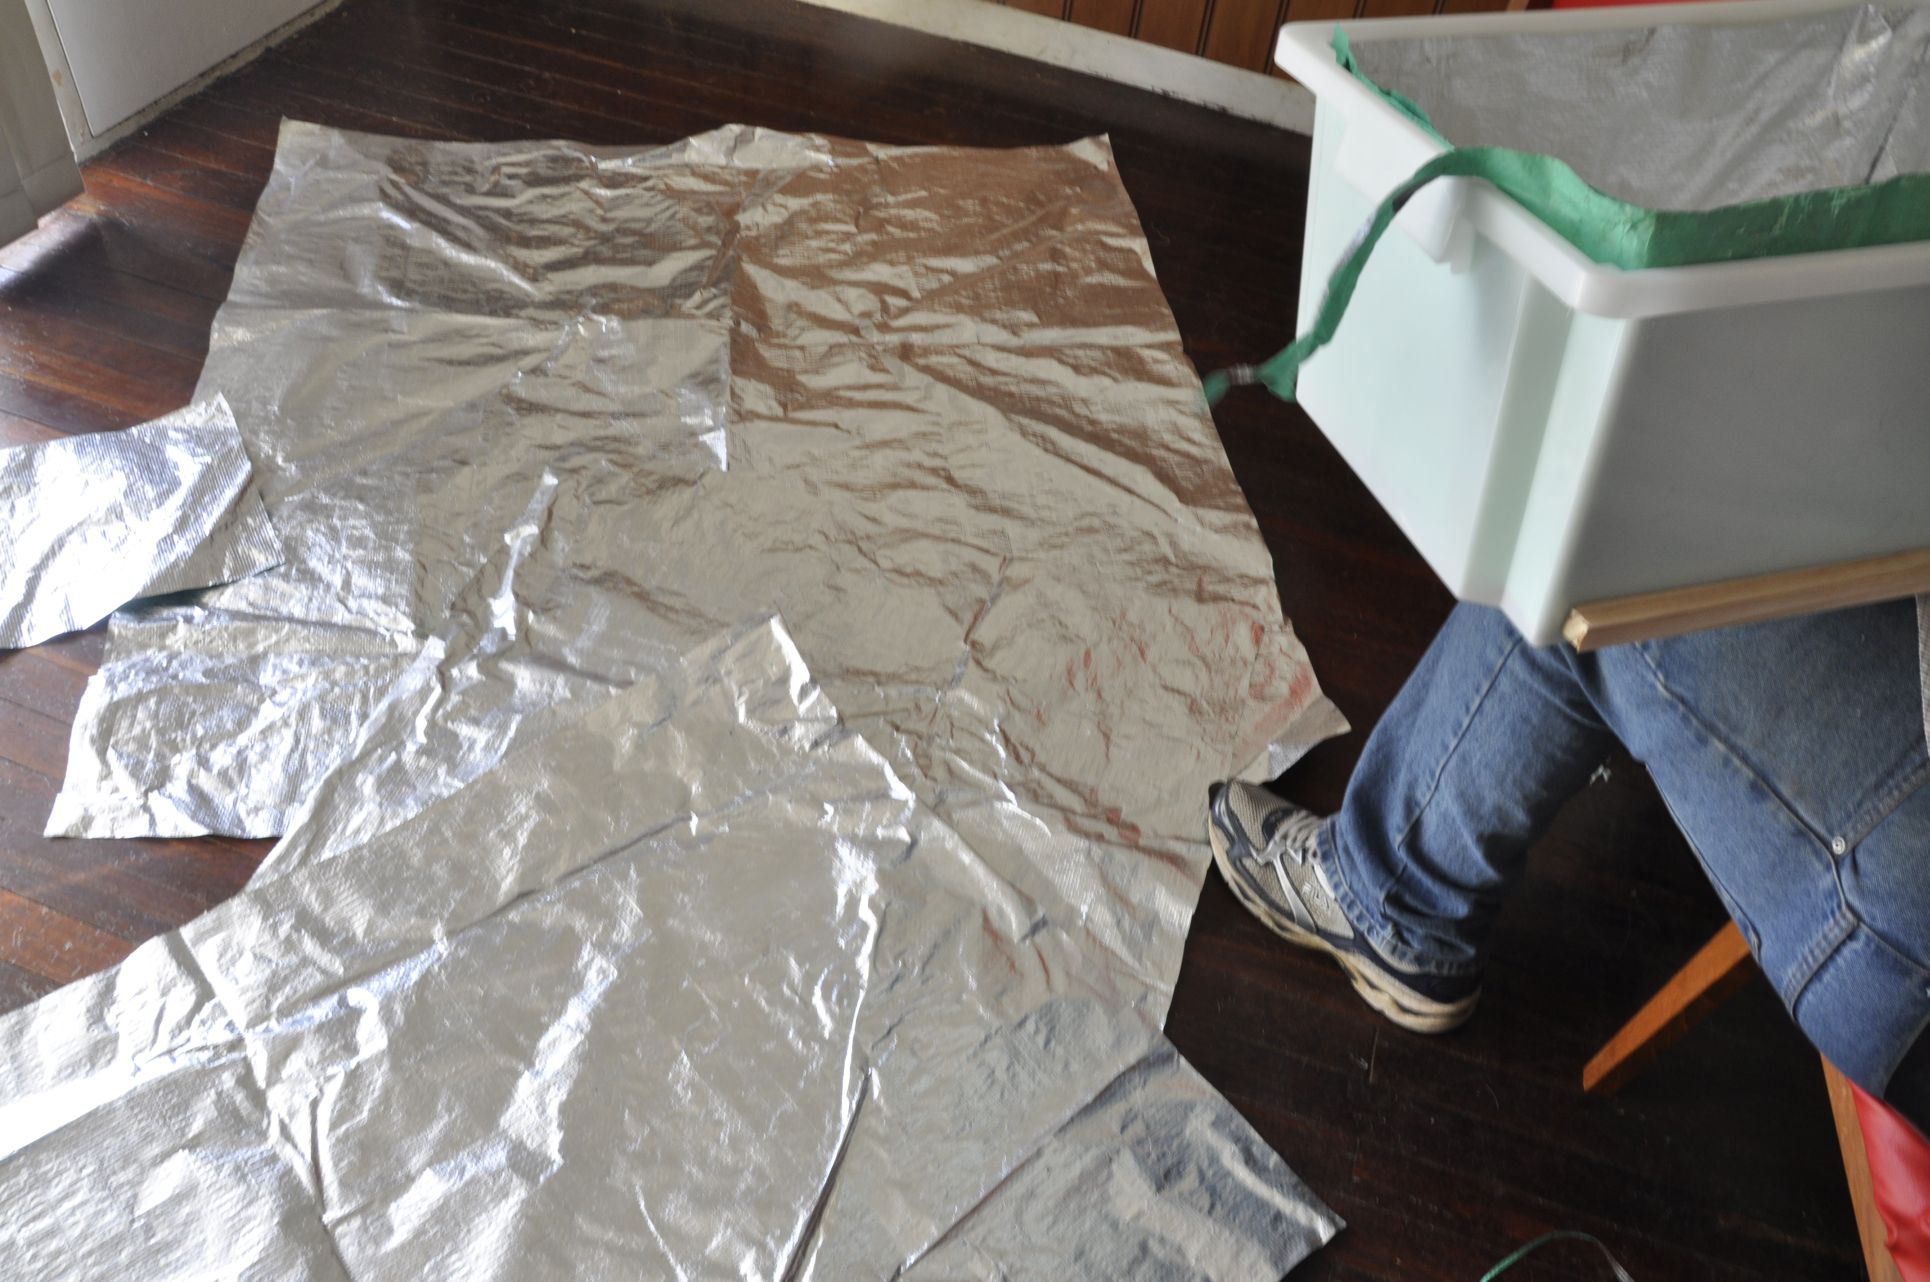
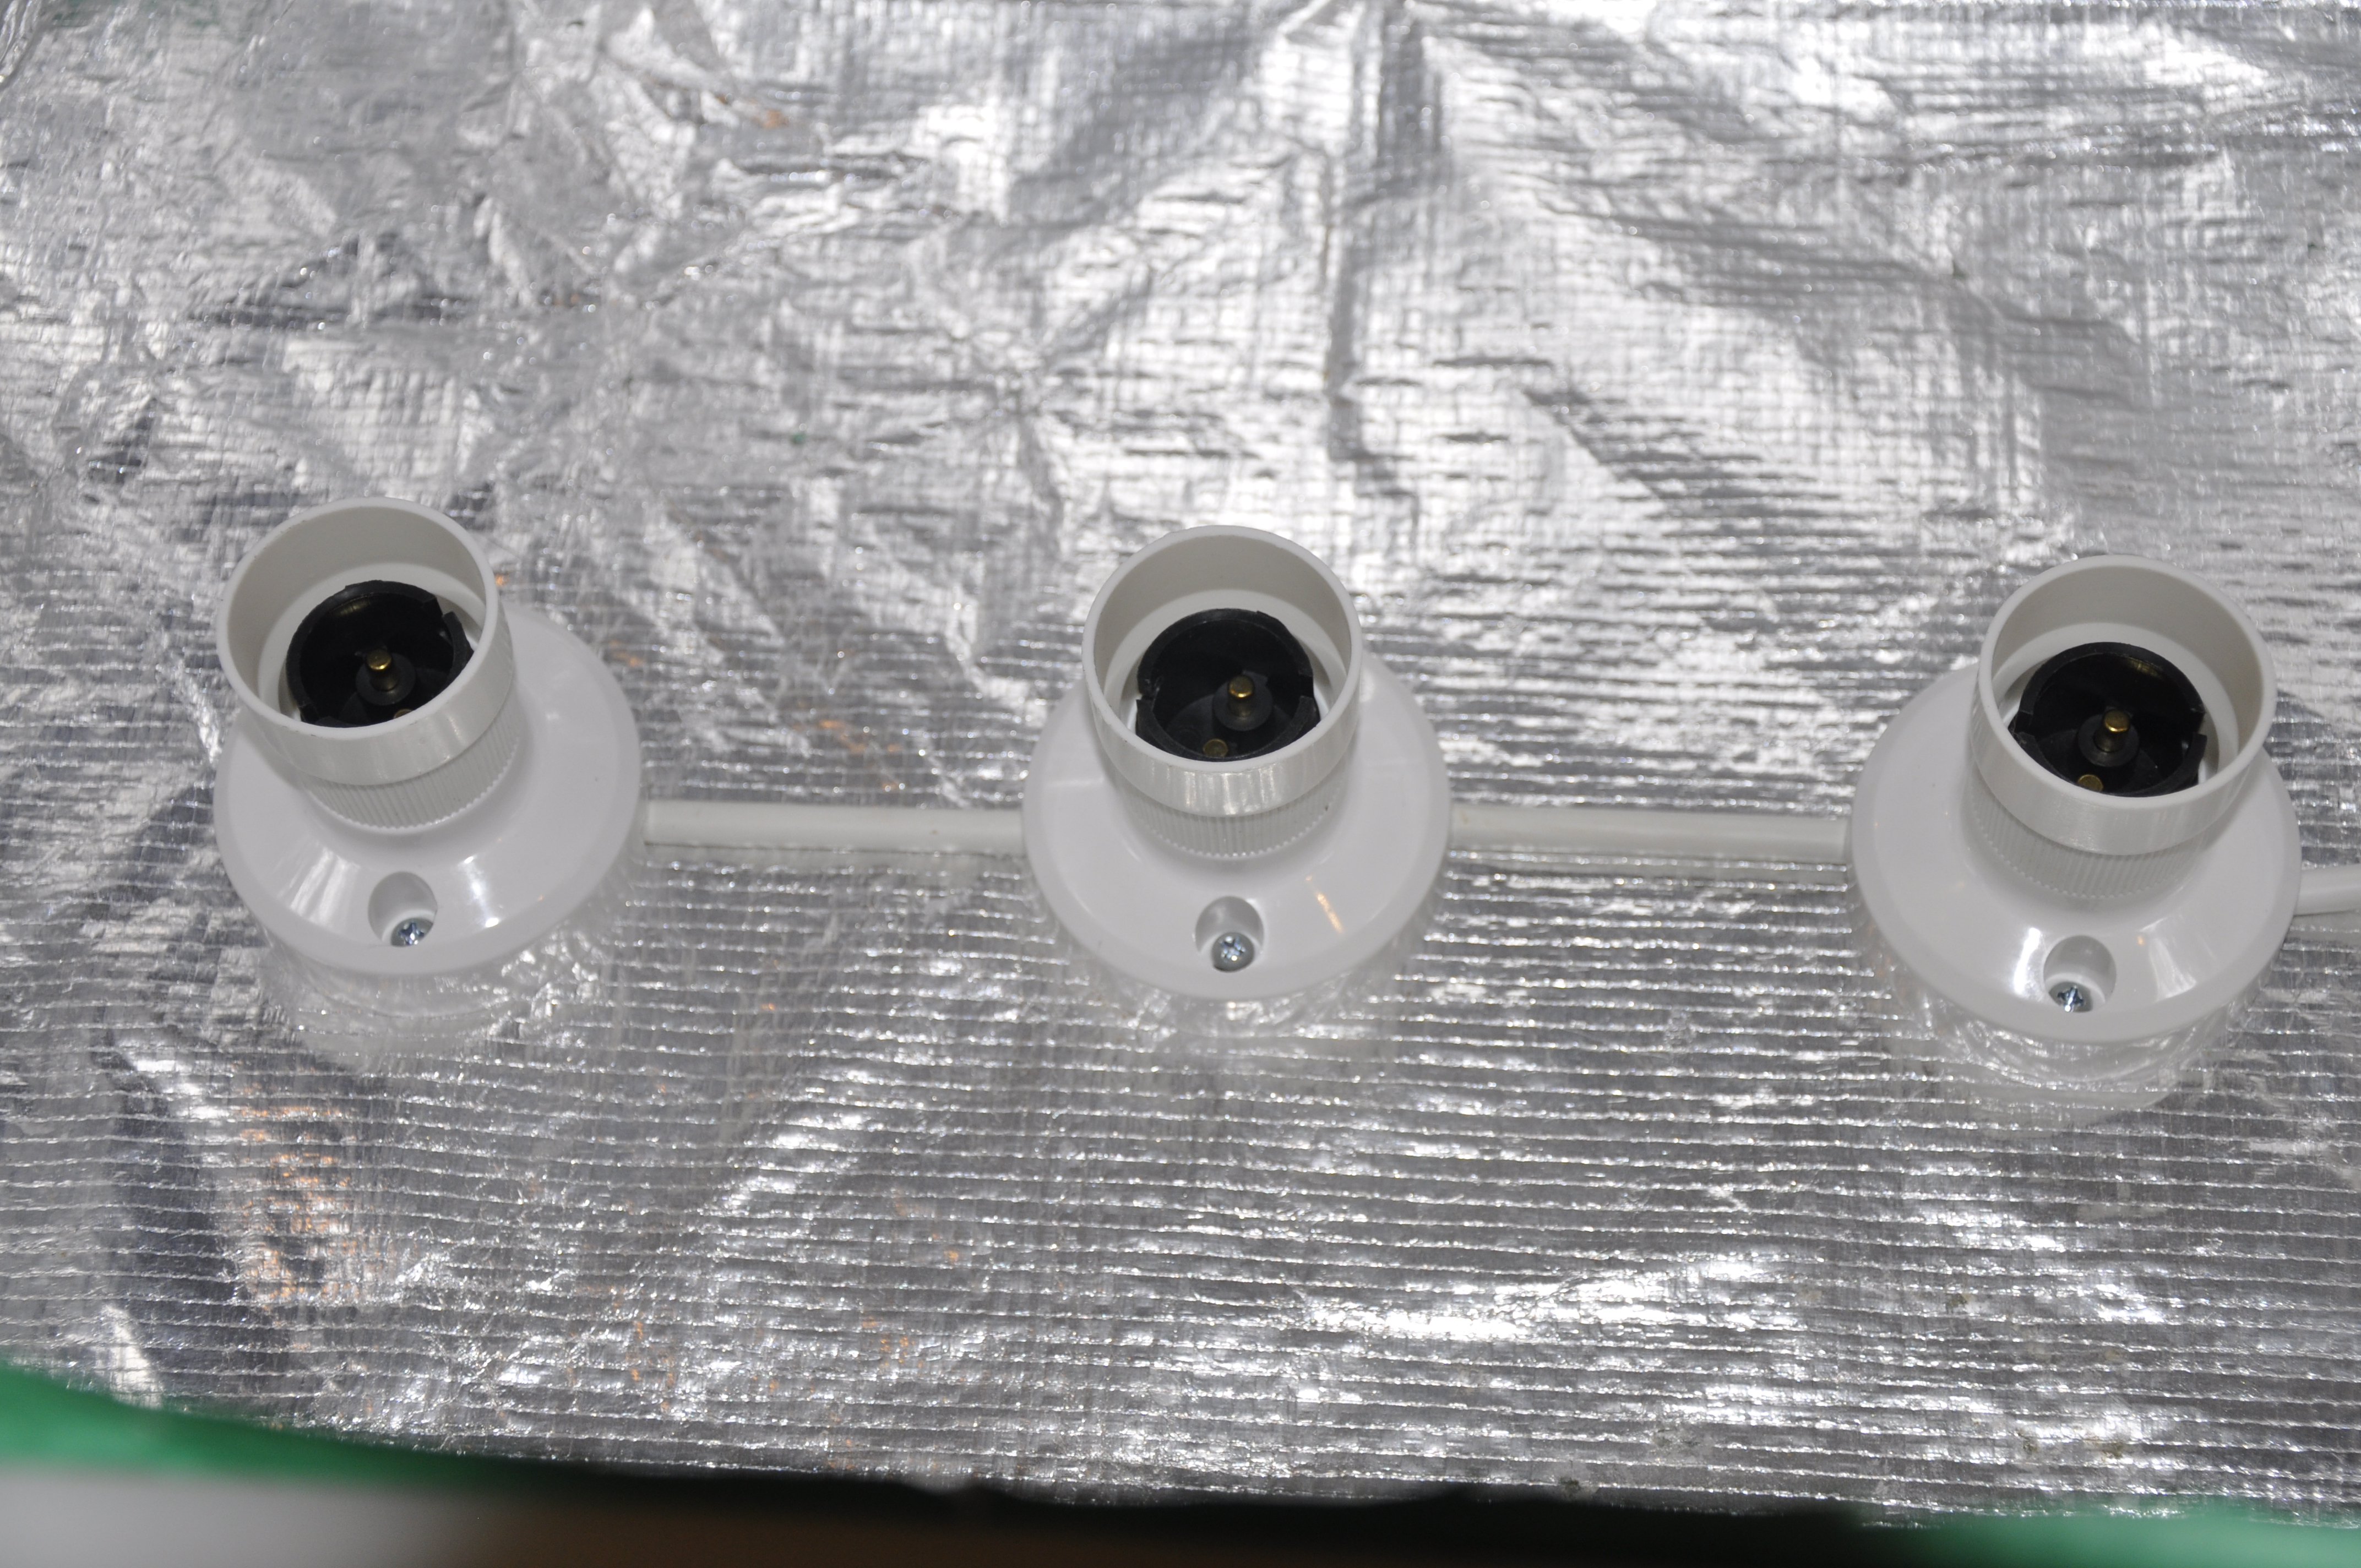
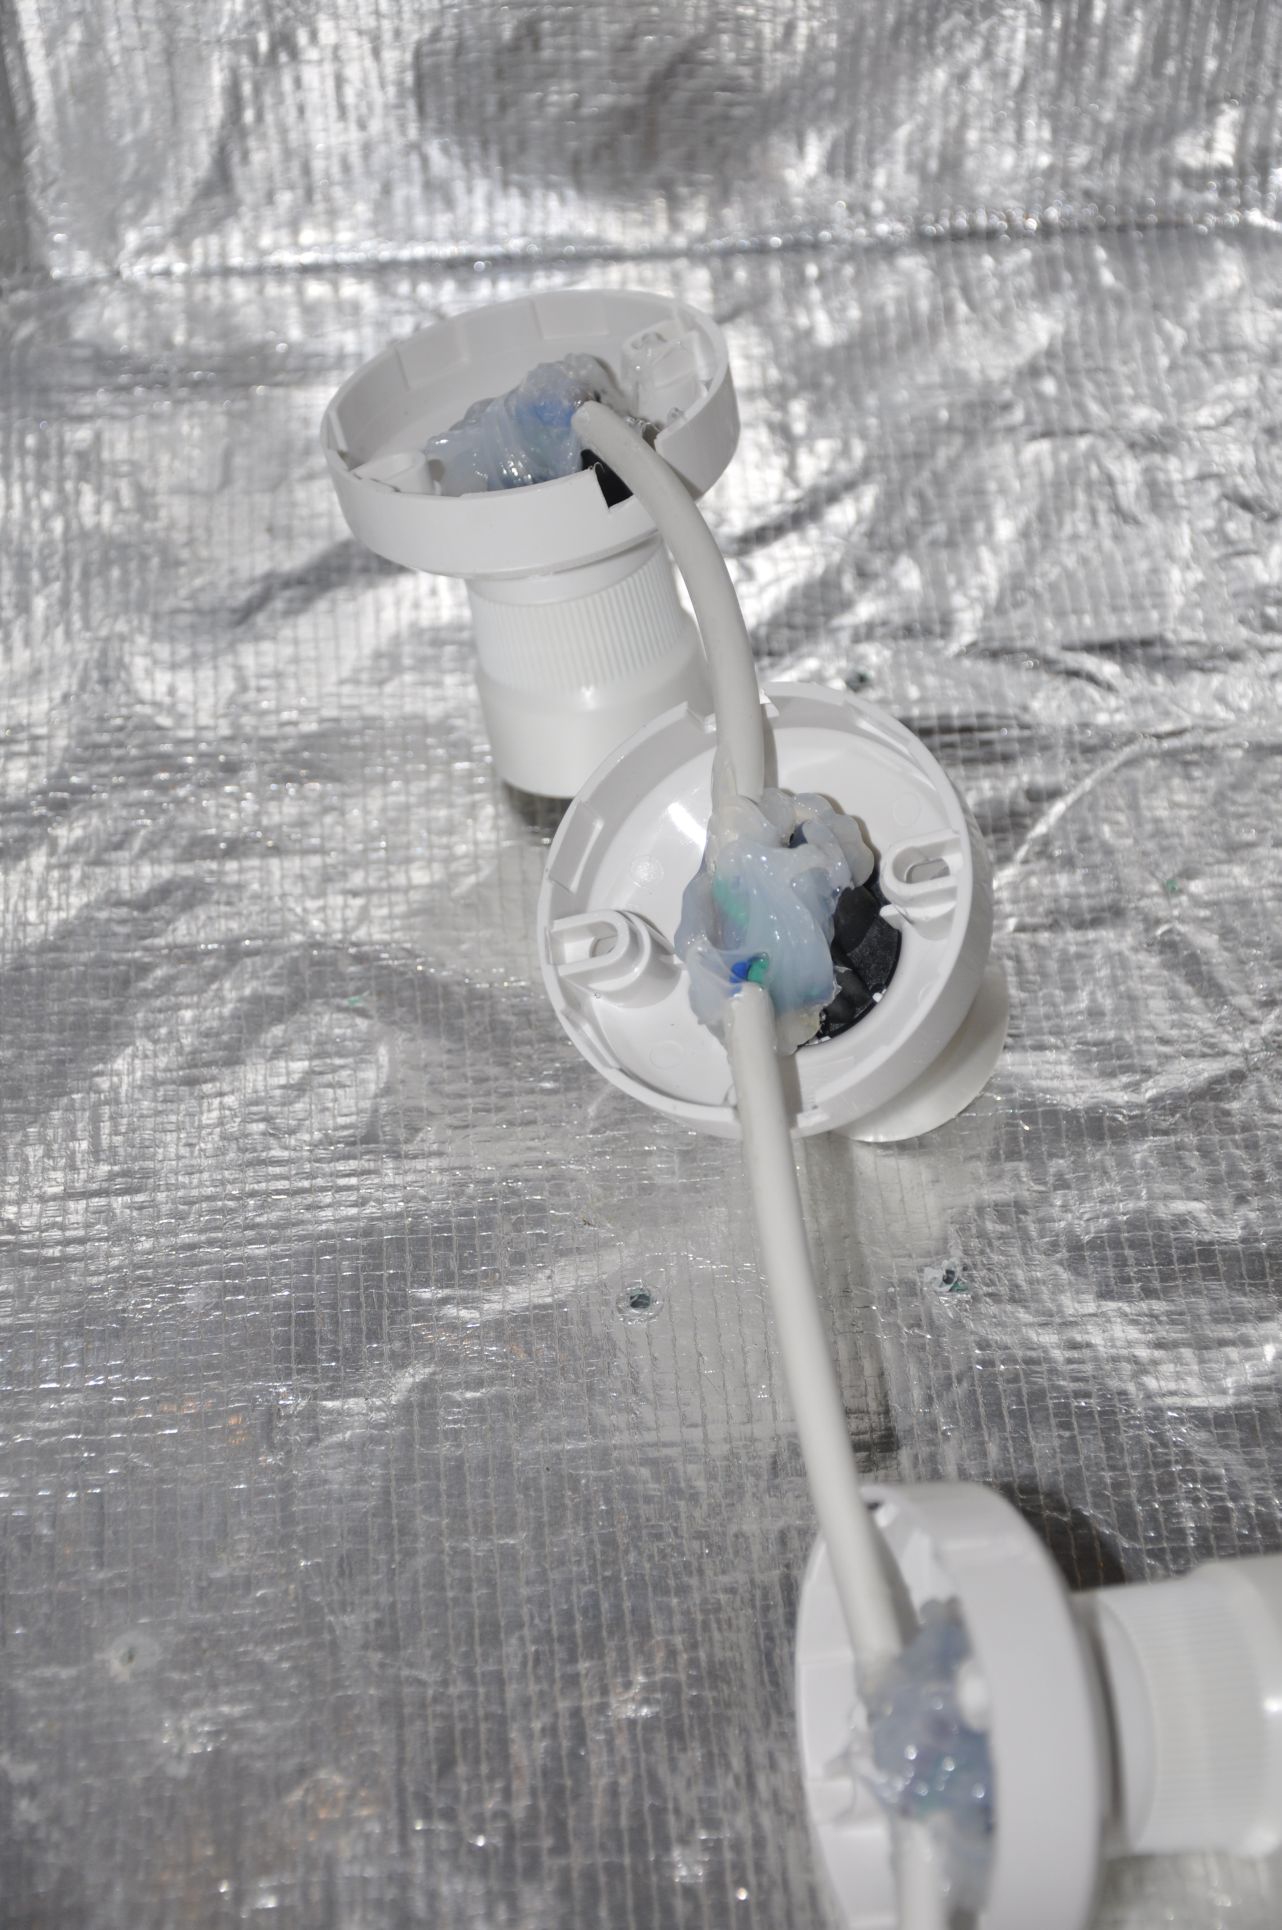
This however raises a point of concern, the reflective matterial is conductive and the contacts recesed into the base of the lamp are exposed. It is very unlikely however possible that if a tub got damaged some of the reflective matterial could come in cotact with the live wire. So as an additional protective measure we applied silastic as an insulator over the sockets. Whilst we intend to only install one CFL per tub we have made provision for three should we ever need additional lighting in the future or if we wanted to load one side of a product with additional light for creating shadows.
The wood batting ensures the mouth of the tubs is alligned vertically (most tubs have a taper to allow internal stacking) as well as allowing them to be positioned together to form a light tunnel. The final step is some white cotton covers that help to diffuse the light. Melissa did a great job sewing this up with some elastic around the outside so they can be slipped on and off easily and even washed should they need to be. As always Moose was busy supervising. 