The ESP8266 has been around for about 12 months at this point and there has been plenty of news about it. This is my quick 5 minute post on how to make the lights blink!
- Buy and ESP8266. Wait 3 months from china or buy it from this guy and get it the next day
- Download the NodeMCU flasher utility (download ZIP button on RHS)
- Download Esplorer (like explorer but with ESP at the begning, get it!) Giant “Download Now” button that looks more like a misleading advert
- Crack out the soldering iron…
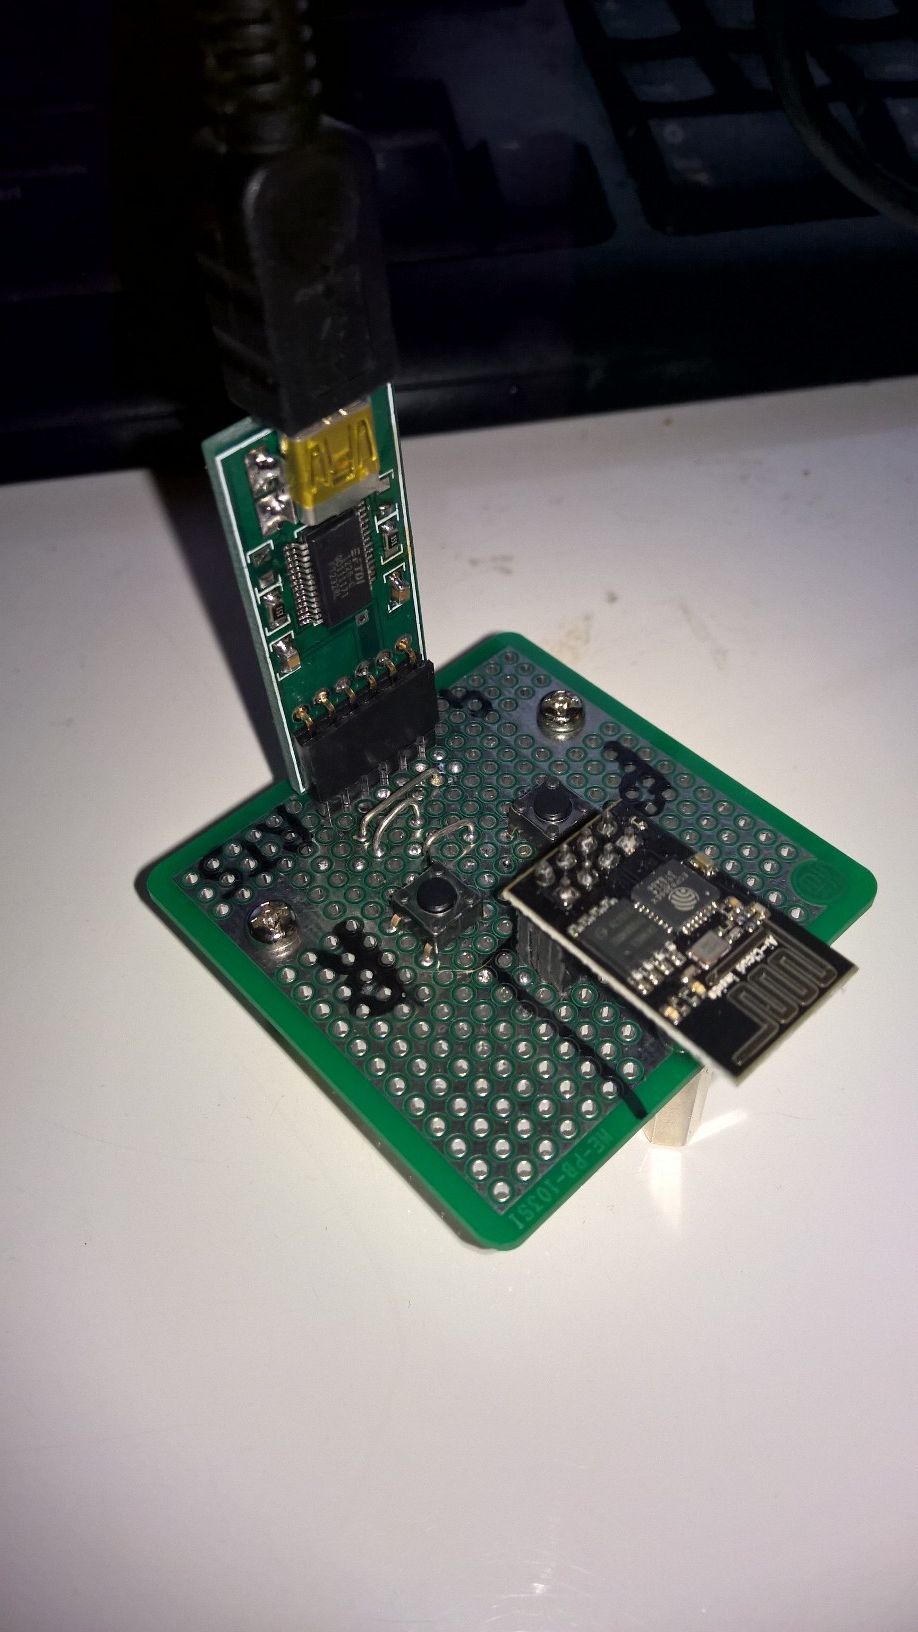
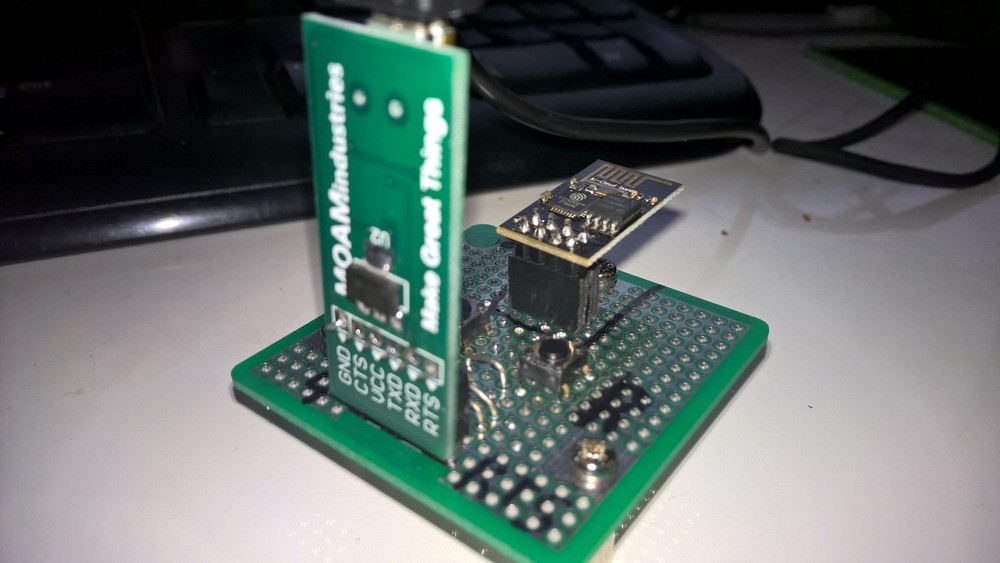
To get the hardware side of this working you need a way to power the ESP8266, a few buttons to the inputs and a serial connection. A 3.3V supply is required for these modules and as they have a built in radio will easily draw >50mA. A standard FTDI serial device cannot supply this and will shutdown if more than 50mA is drawn from their VCC line. I use a high current FTDI adapter that has an additional 3.3V regulator built in to provide up to 500mA from the USB 5V supply. You will need a way to solve this problem as well. The first connections aside from power will probably be your serial connections. Here you can find a pinout for the ESP-01, this is the basic and super cheap module format. Don’t forget to cross the TX & RX lines to your FTDI adapter. If you just want to use the basic functions of the ESP8266 and utilise AT commands to drive this device then you are done. However I would recommend using NodeMCU instead as it provides a lot more functionality at no extra cost. To load the nodeMCU firmware you will need at least one extra button, the program button. When this button is pressed GPIO-0 is sorted to ground (no need for a resistor). I also connected a RESET button, this shorts RST to GND when pressed. If the ESP8266 detects GPIO-0 shorted to GND on start-up it will enter the boot-loader programming mode. I find the reset button makes it easier to do this without having to disconnect power whilst holding the other button down as well. I have built all of this into a small proto board I can use to burn & configure ESP-01 modules and then remove them for installation.


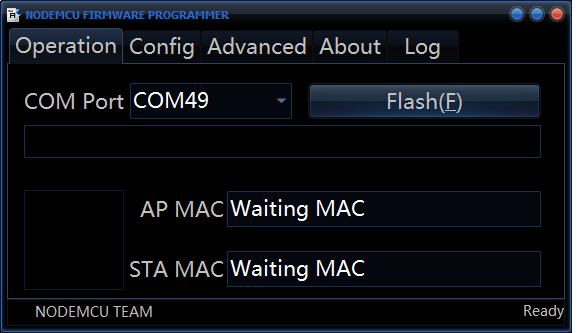
The next phases is to update the firmware with node MCU. The flasher utility will do that, just run whichever flavour is appropriate for your version of windows (32/64bit).  Just ensure you have the right COM port selected, hold down your program button and power cycle/reset your ESP8266. Whilst holding the program button down press “Flash” in the application and watch the magic happen. You can also release the program button once it has started. Finally you can start experimenting with your esp8266 and writing LUA scripts in the ESPlorer application. I run it using the batch file located in the directory. The example code here (and additional tutorial) should get you started building web servers.
